Installation

Grainel Thermowood Wall Panel Installation Guide

Guidance for interior wall and ceiling installation, from acclimatization and layout planning to nailing direction, cutting, and maintenance.

Required tools

  • Spirit level
  • Measuring tape
  • Pencil
  • Miter saw
  • Sanding block
  • Nail gun
  • Stainless steel finishing nails

Before installation

  • Grainel vintage-style thermowood panels are designed for interior wall and ceiling applications.
  • Thermowood is a natural and relatively delicate material. Handle the panels carefully to avoid cracking or edge damage.
  • Store the panels in the installation room for at least 48 hours before installation.
  • Recommended room temperature: +15 C to +25 C.
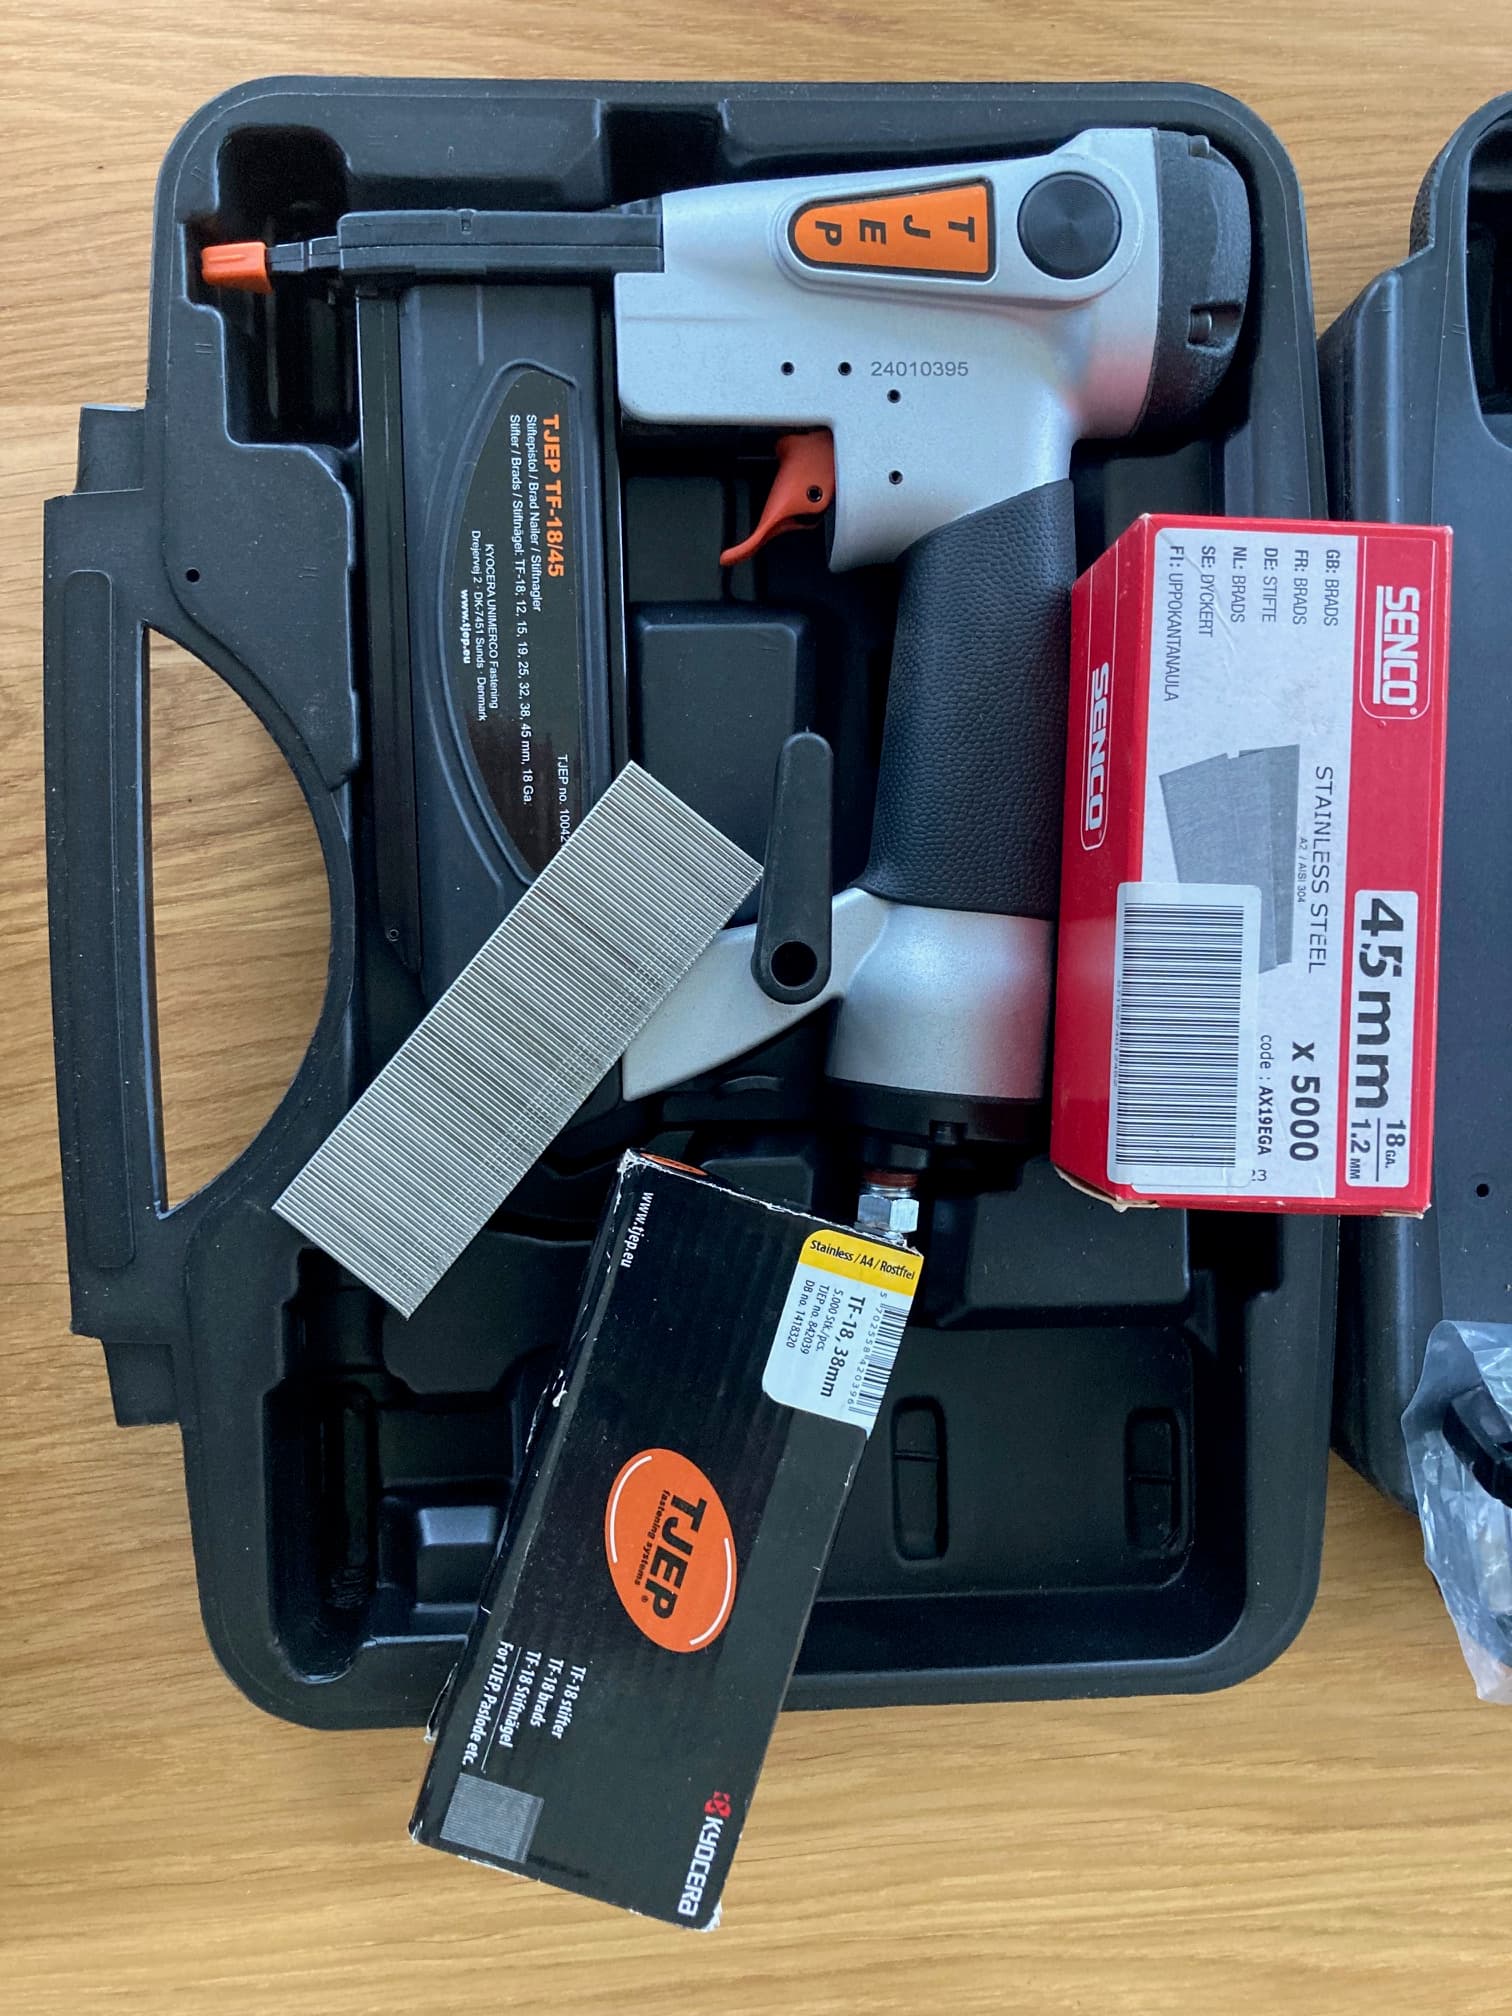
Nail gun and stainless steel finish nails for panel installation

Fastener recommendations

Recommended nail gun
18GA finish nailer with a fine tip.
Recommended nails
Stainless steel or acid-resistant steel: A2 / A4 / AISI 304.
Recommended dimensions
Diameter 1 x 1.25 mm, length 38-45 mm.

Installation instructions

Step-by-step installation for Grainel panels

Plan the layout first, mix boards for a balanced surface, and fix panels through the tongue with the correct angle and fastener choice.

01

Surface preparation

Ensure the installation surface is suitable before the first panel is fixed.

  • The surface should be dry.
  • The surface should be clean.
  • The surface should be level.
  • The substrate must be strong enough to support the panels.

02

Choose the installation direction

Decide whether the panels will run horizontally or vertically before starting work.

  • Arrange several panels in advance to evaluate texture, color variation, and lighting.
  • Choose the direction that gives the most balanced visual result in the room.

03

Mark the starting line

Use a spirit level and measuring tape to mark the first row precisely.

  • A straight starting line helps keep the entire installation aligned.

04

Sort the panels

Open the packages and lay the panels on the floor with the finished side facing upward.

  • Each panel is unique and may vary in color tone, texture, and pattern.
  • Alternate different-looking panels during installation for the best visual appearance.

05

Cut the panels

Separate full-length boards from boards that need to be trimmed before fixing them in place.

  • Minor micro-cracks may occasionally appear at the ends of thermowood panels.
  • Use such panels at full length whenever possible, since cutting can extend the crack.
  • After cutting, smooth the cut edges with a sanding block.

06

Installation direction

Follow the tongue orientation carefully so the panel can be nailed cleanly.

  • Horizontal wall installation: preferably work from top to bottom with the tongue facing downward.
  • Vertical wall installation: work from left to right with the tongue facing right.
  • The offcut from a trimmed panel can be used to start the next row where suitable.
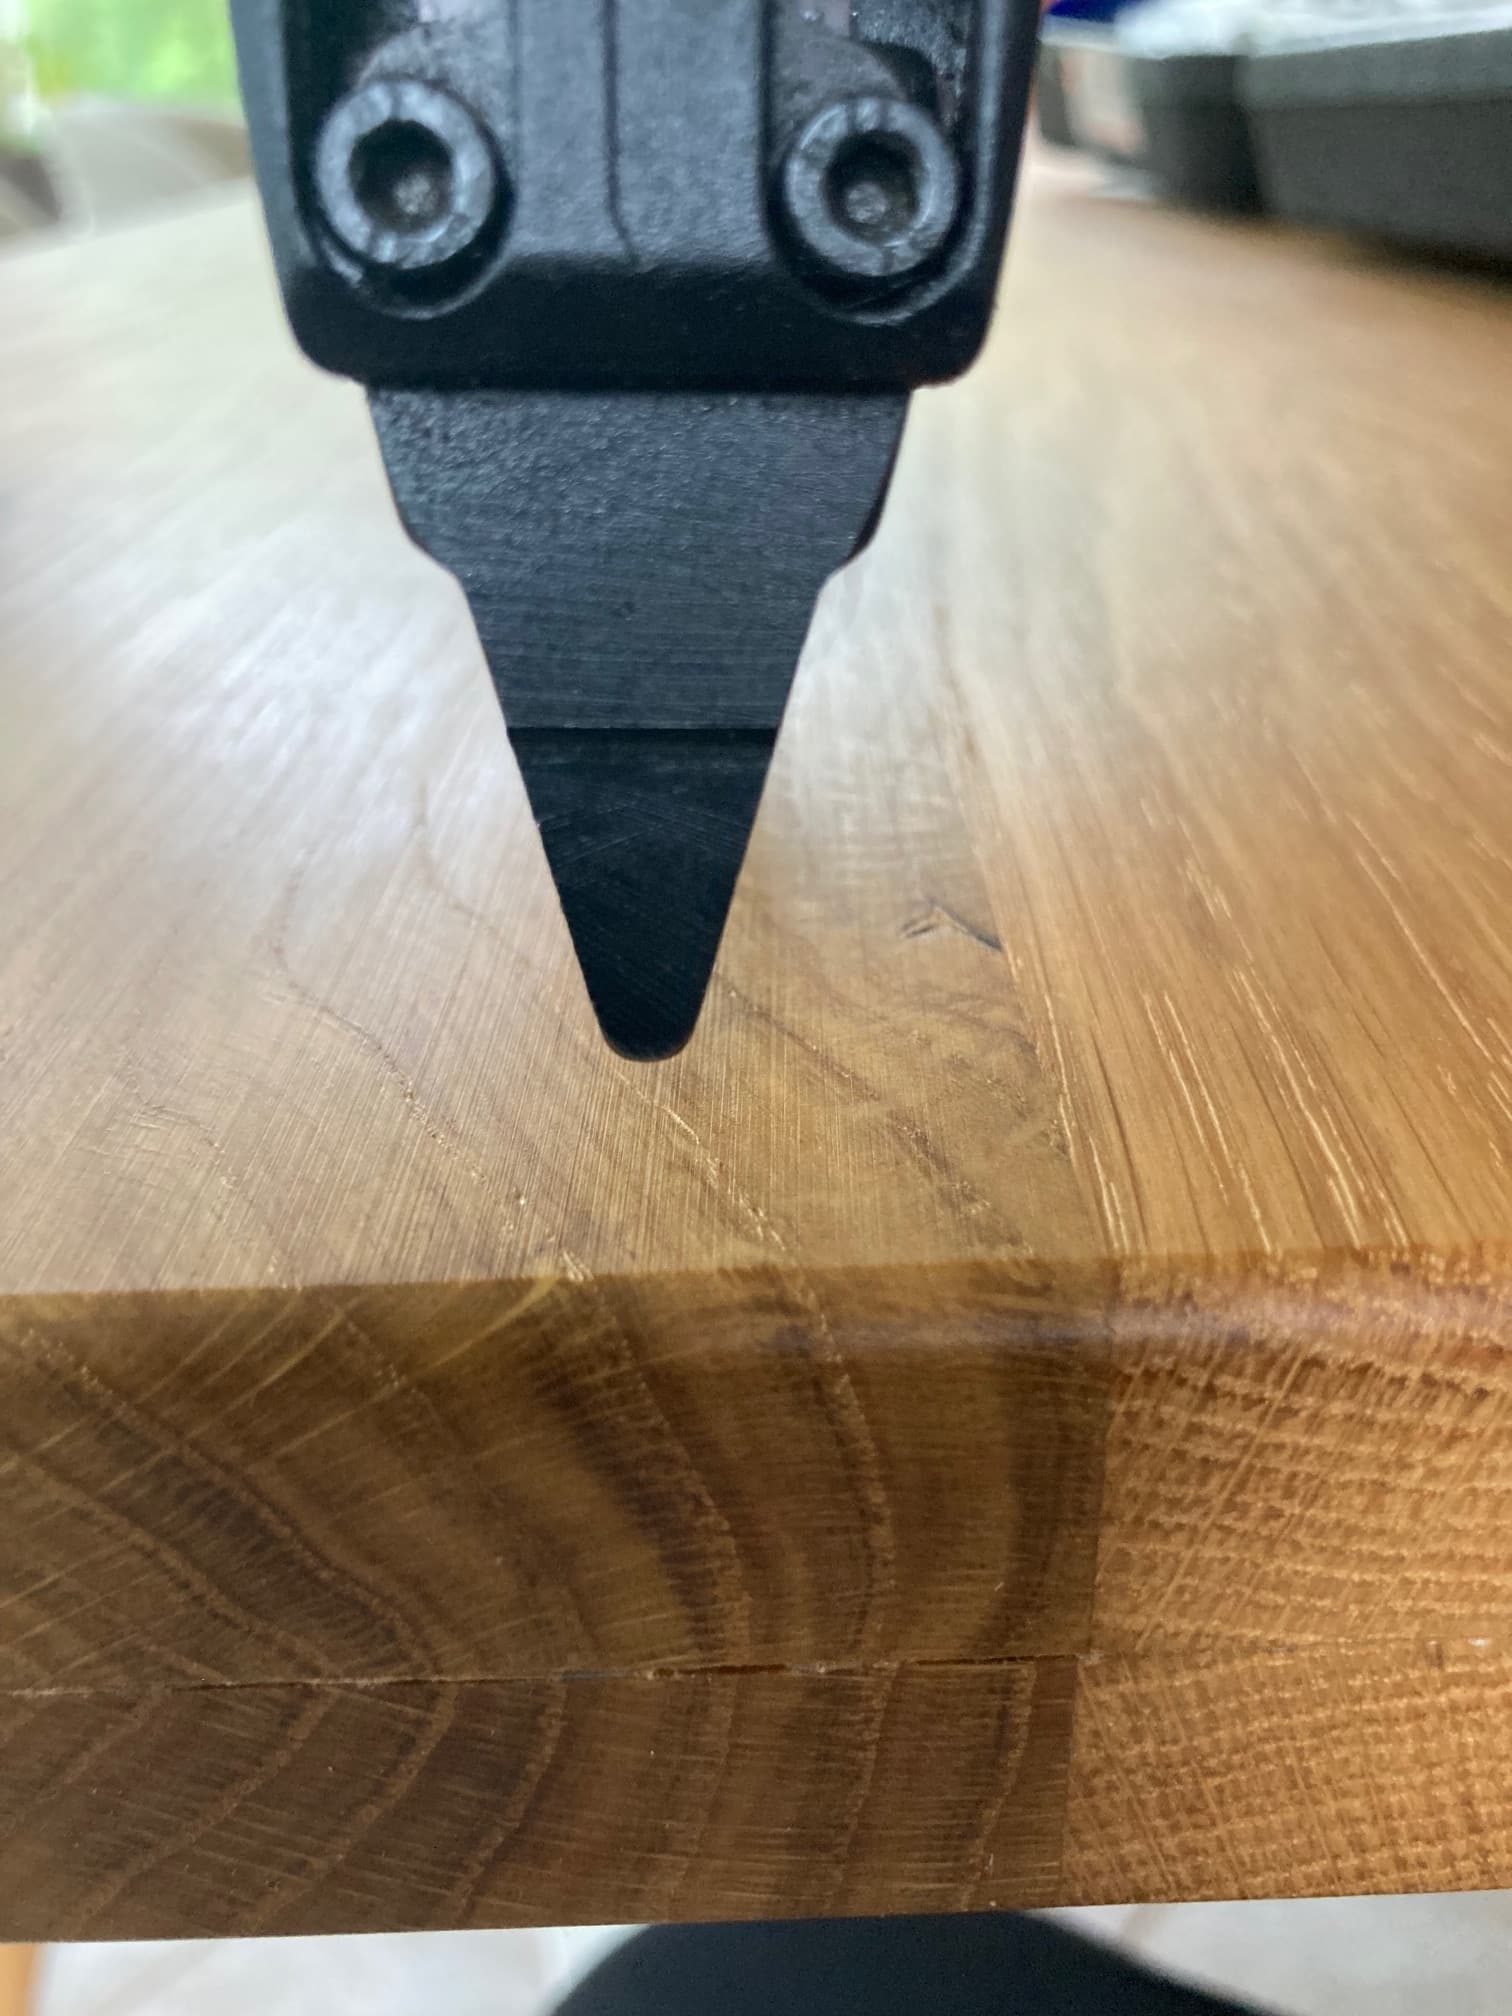
Close-up installation view of a nail gun against a wood panel

07

Fix the panels

Clean the connection points before joining panels and fasten through the tongue edge.

  • Clean the tongue and groove before connecting the panels.
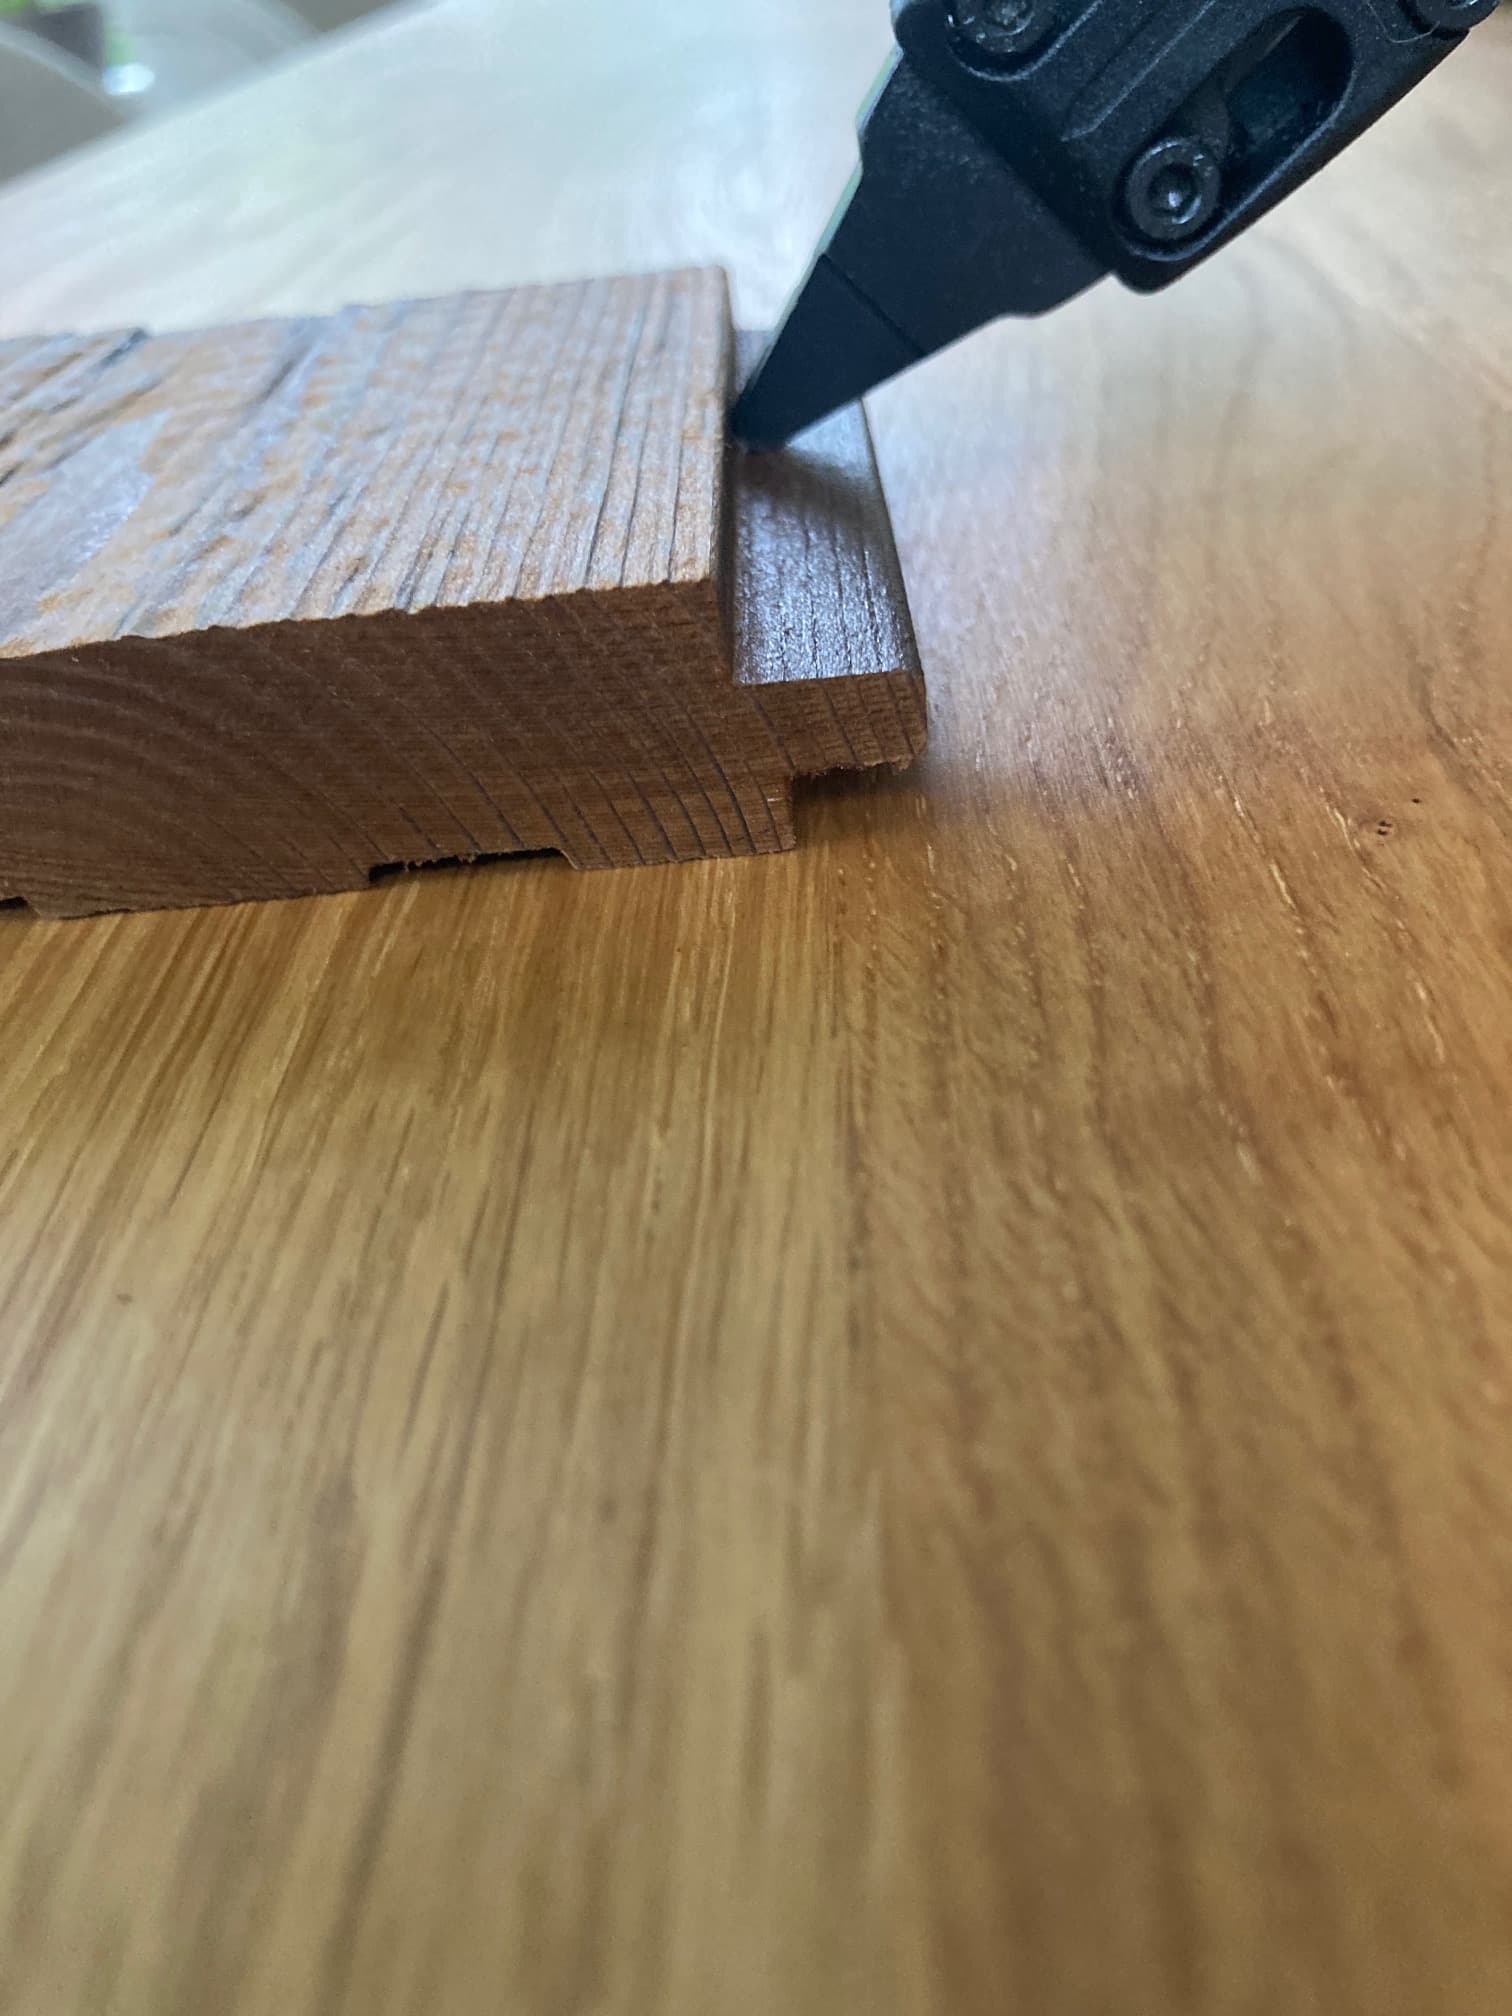
  • Use a nail gun at approximately a 45° angle.
  • Drive the nail through the inside corner of the tongue edge.
  • Set nail spacing according to the substrate and installation conditions.
Nail gun positioned at a 45 degree angle through the tongue edge

Care and maintenance

  • These panels are intended for indoor use only.
  • Avoid excessive moisture and significant temperature fluctuations.
  • Clean with a dry or slightly damp cloth.
  • Do not use abrasive cleaning products.

ENJOY THE NATURAL BEAUTY OF THERMO WOOD